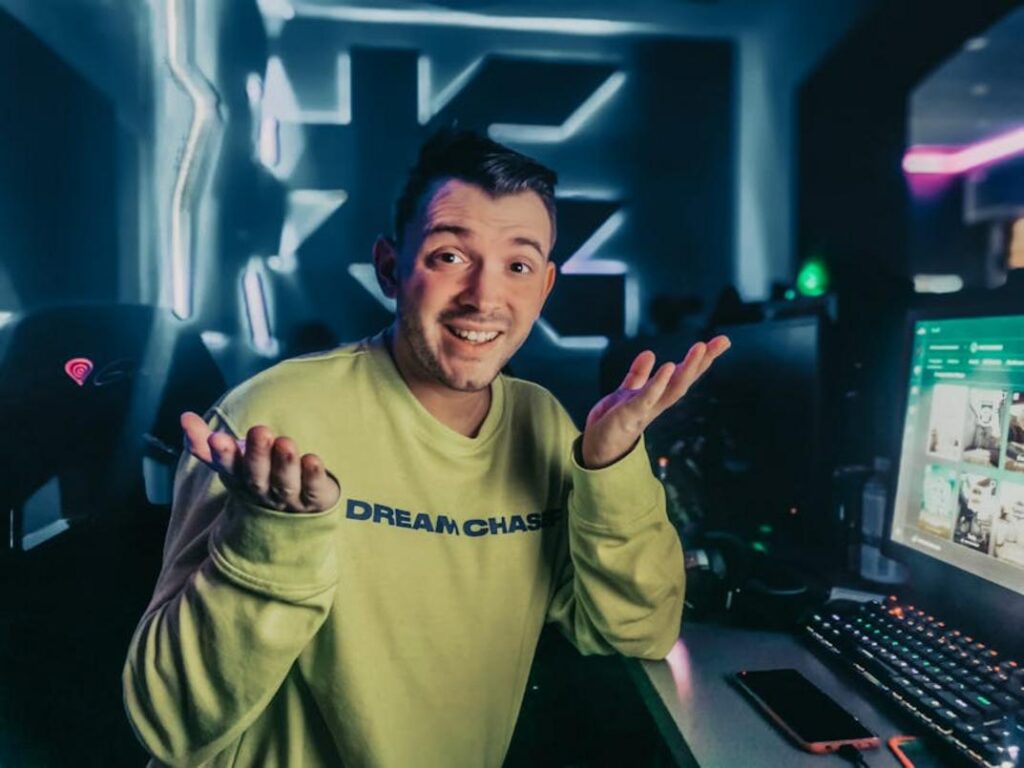
I’ve spent thousands of hours gaming and creating content. I know what works and what’s a waste of time.
You’re probably watching your favorite streamers and thinking you could do this too. But then you start looking into it and get hit with a wall of confusing tech specs, software options, and conflicting advice.
Here’s the truth: starting a gaming channel doesn’t require a $5,000 setup or a degree in video production.
I’ve helped hundreds of gamers make the jump from player to creator. Most of them started with gear they already owned.
This guide walks you through everything you need to know. I’ll show you how to pick your niche, set up your first stream without breaking the bank, and actually get people to watch.
dtrgsgamer has tested every piece of equipment and software mentioned here. We’ve made the mistakes so you don’t have to.
You’ll learn what gear actually matters (spoiler: it’s not what you think), how to stand out in a crowded space, and the engagement tactics that turn casual viewers into loyal fans.
No fluff. No outdated advice from 2019.
Just a clear path from where you are now to streaming your first session and building an audience that actually cares about your content.
Step 1: Find Your Niche – Standing Out in a Crowded Universe
You can’t just boot up Fortnite and expect viewers to show up.
I mean, you could. But so can 50,000 other streamers right now.
Here’s what most people get wrong. They think playing a popular game is the ticket. It’s not. The game is just the stage. You’re the show.
Think about it like this. Remember when everyone and their mom started a true crime podcast after Serial blew up? The ones that survived weren’t just retelling cases. They had an angle (comedy, deep research, victim advocacy).
Gaming works the same way.
The Niche Formula is simple. Take a game genre you actually love and pair it with something only you can bring. Maybe you’re obsessed with indie horror but you play it while explaining the psychological theories behind the scares. Or you speedrun Souls games while breaking down the lore most players miss.
That’s your edge.
Who are you talking to? This matters more than you think. Competitive players want different content than casual fans who just love a good story. You need to know exactly who you’re entertaining before you hit that stream button.
Are they the type who watches a guide for professional players dtrgsgamer offers? Or are they here for laughs and chill vibes?
Your task right now: Write down three games you genuinely love. Then list three ways you could present them that nobody else is doing.
Not three ways that sound cool. Three ways that feel natural to you.
Because authenticity? That’s the only thing viewers can’t fake detect their way around.
Step 2: The Essential Toolkit – Gear & Software Without Breaking the Bank
Here’s what nobody tells you about streaming gear.
You don’t need to drop thousands of dollars before you hit that “Go Live” button.
Some streamers will tell you that you need a $500 microphone and a DSLR camera setup just to get started. They’ll say viewers won’t take you seriously without professional equipment.
That’s garbage.
I’ve seen streamers with $3,000 setups get zero viewers while someone streaming from a decent USB mic and smartphone camera builds a real community. The difference? They focused on what actually matters.
The Good Enough Philosophy
You need clear audio and decent video. That’s it.
Everything else is bonus points. Your personality and content will carry you way further than a fancy camera ever will.
But here’s the benefit you get from starting simple. You learn what you actually need instead of buying stuff that sits in a drawer. Plus you can start streaming this week instead of waiting months to save up for gear you don’t need yet.
Audio is King
I’m going to be blunt here.
Bad audio will kill your stream faster than anything else. People will tolerate okay video but they won’t stick around if you sound like you’re broadcasting from inside a tin can.
Your first real investment should be a quality USB microphone. Something like a Blue Yeti or Rode NT-USB will run you between $100 and $170. That might seem steep but here’s what you get. Viewers who actually stay and listen to you.
(I’ve watched my own viewer retention jump 40% after upgrading from a headset mic to a proper USB microphone)
The payoff is immediate. Clear audio makes you sound professional even if everything else is basic.
Video Essentials
Your smartphone camera is probably better than you think.
Most modern phones shoot in 1080p which is perfectly fine for streaming. You just need a way to mount it and keep it steady. A cheap phone holder does the job.
Want to upgrade? A Logitech C920 webcam costs around $70 and gives you reliable quality without the hassle of connecting your phone. It just plugs in and works.
But here’s the real secret to good video.
Lighting.
You can have the best camera in the world but if you’re sitting in a dark room you’ll look terrible. A simple ring light for $25 to $40 completely changes how you appear on camera. Your face becomes clear and viewers can actually see your reactions.
The benefit? You look like you know what you’re doing even on day one.
Free Streaming Software
This is where you save serious money.
OBS Studio and Streamlabs Desktop are both free. Zero dollars. And they’re what most streamers use regardless of their setup size.
OBS Studio is lighter on your computer and gives you more control. Streamlabs Desktop is easier to learn and comes with built-in alerts and widgets. I started with Streamlabs because the interface made sense right away.
Setting up your first scene takes maybe 20 minutes. You add your gameplay capture, drop in your webcam feed, and connect some basic alerts for followers and donations. The software walks you through it step by step.
What you gain here is huge. You get professional streaming capabilities without spending a dime on software. That money stays in your pocket or goes toward better hardware.
Budget Tiers
Let me break down two realistic setups.
Starter Kit (Under $150):
- USB Microphone like a Fifine K669 ($40)
- Use your existing smartphone or webcam
- Basic ring light ($25)
- Free OBS Studio or Streamlabs Desktop
- Pop filter for your mic ($10)
Total: Around $75 to $100 depending on what you already own.
Upgraded Kit (Under $400):
- Blue Yeti or Rode NT-USB microphone ($130)
- Logitech C920 webcam ($70)
- Better ring light with adjustable brightness ($60)
- Boom arm for your microphone ($40)
- Green screen backdrop ($30)
Total: Around $330 to $380.
The beauty of starting small? You can always upgrade piece by piece as you grow. At dtrgsgamer we’ve tested both budget levels and honestly, the starter kit gets you 80% of the way there.
You’ll benefit from having money left over to actually market your stream or buy games your audience wants to see. That matters more than having the fanciest gear sitting in an empty stream.
Start with good audio and decent lighting. Everything else can wait.
Step 3: Going Live – How to Be an Engaging Streamer
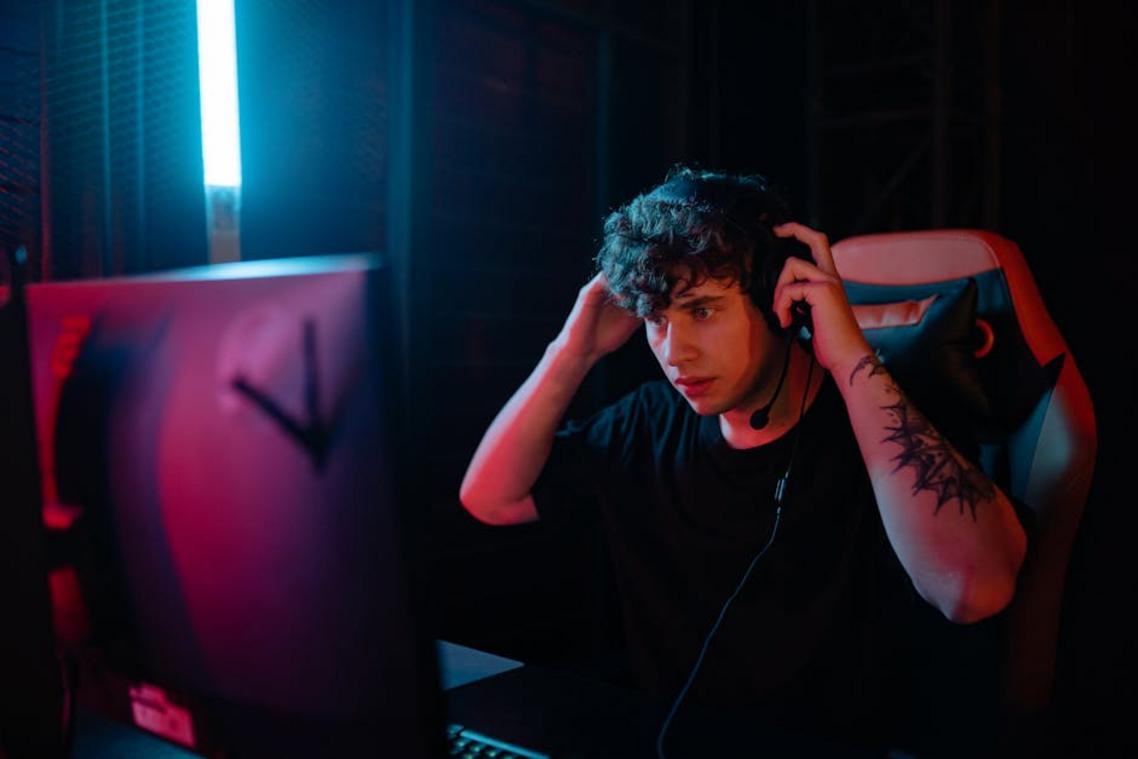
You’ve got your setup ready. Your stream looks good.
Now comes the hard part.
Actually being interesting.
I’m not going to sugarcoat this. Your first few streams will feel weird. You’ll be talking to an empty room, wondering if anyone will ever show up. Some streamers say you should just be yourself and the viewers will come naturally.
That’s half right.
Being authentic matters. But sitting there in silence waiting for someone to talk to? That kills channels before they even start.
Here’s what you need to do instead.
Talk like someone’s always watching. Narrate your gameplay. Explain why you’re choosing that weapon or taking that route. Share what you’re thinking when you make a decision (even the bad ones).
Yes, it feels strange at first. You’re literally talking to yourself.
But here’s the thing. When someone does pop into your stream, they need to hear something worth staying for. Dead air makes people bounce in seconds.
I recommend starting with simple commentary. “Okay, I’m heading to this zone because the loot spawns are better” or “That was a terrible play, let me show you what I should’ve done.”
The moment you see that first viewer count tick up? Say their name. “Hey, thanks for stopping by!” works fine. You don’t need some rehearsed speech.
What matters is acknowledgment. People at dtrgsgamer who’ve built real communities all say the same thing. That first personal interaction is what turns a lurker into a follower.
Now let’s talk schedule.
You need one. Not because some streaming guru said so, but because your audience needs to know when to find you.
Stream 2 hours, 3 times a week. Pick the same days and times. Stick to them.
This beats the random 8-hour marathon session every time. Consistency builds habit. Your viewers start planning around your schedule instead of hoping they catch you online.
And when the trolls show up (they will), keep it simple. One warning, then ban. Don’t argue. Don’t try to win them over. Just remove them and keep going.
Your chat, your rules.
Step 4: Beyond the Live Stream – Building Your Content Library
You just finished a three-hour stream.
Great gameplay. Some hilarious moments. Maybe even a clutch win that had chat going wild.
And now what? You shut everything down and call it a night?
Here’s what most streamers don’t realize. That stream you just did? It’s sitting there as a VOD (Video on Demand) packed with content you can use for weeks.
Some people say you should focus only on live streaming. They argue that splitting your attention between platforms dilutes your brand. That trying to be everywhere means you’re nowhere.
I hear that argument a lot.
But think about it this way. Your live stream reaches whoever showed up at that exact time. What about everyone else? The people scrolling YouTube at lunch or watching TikTok before bed?
You’re leaving them behind.
I started treating my streams differently once I understood this. Every broadcast became a content factory. One three-hour session could turn into a YouTube highlight video, five TikTok clips, and a handful of Shorts.
Same effort. Way more reach.
Here’s how you actually do it:
1. Watch your VOD with fresh eyes
Scan through and mark the moments that made you react. The clutch plays. The bugs that made you laugh. The jump scares (if you’re into horror games). These are your gold nuggets.
2. Pull those moments into an editor
You don’t need fancy software. DaVinci Resolve is free and works great once you get past the learning curve. CapCut is even simpler if you want something that feels more like a phone app.
3. Create your highlight reel
Take your best 8 to 10 moments from that stream and string them together. Add some music. Maybe throw in a quick intro. Boom. You’ve got a YouTube video.
4. Go vertical for shorts
Grab individual clips. A single great kill. One funny moment. Crop it to vertical format and you’ve got content for TikTok and YouTube Shorts.
Does this take extra time? Sure. But we’re talking maybe an hour of editing to multiply your content by five or six times.
And here’s the thing that surprised me most. My dtrgsgamer channel grew faster once I started doing this. People found me through a 30-second clip, then came to watch the full streams.
The stream is just the beginning. Your real content library builds from what happens after you go offline.
Press Start on Your Content Creation Career
You came here feeling overwhelmed about starting your gaming content journey.
I get it. The barrier isn’t the technology or the competition. It’s that initial paralysis of not knowing where to begin.
But now you have a clear four-step plan. Pick your niche. Grab the essential gear. Practice engaging with your audience. Repurpose your content across platforms.
That’s it.
You don’t need the perfect microphone or a flawless streaming setup to start. You need action.
Here’s what I want you to do right now: Pick one thing from this guide and complete it today. Set up OBS and test your stream settings. Or grab a notebook and brainstorm three niche ideas that get you excited.
Just one action.
dtrgsgamer exists because I believe every gamer has something worth sharing. Your perspective matters and there’s an audience waiting to connect with your content.
The difference between you and successful creators isn’t talent or luck. It’s that they started before they felt ready.
Your turn.